I cannot begin to express how excited I am for a couple of really good friends of ours, Ashton and Matt, to have welcomed into the world the most beautiful baby girl, Addilyn Olivia! Not only do we all know that they will make amazing parents, but we also know how no other couple in this world deserves nothing less short of a gorgeous baby girl.
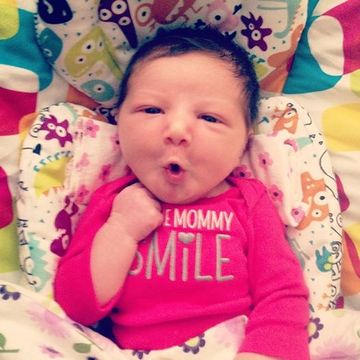
Welcome, Addilyn Olivia!
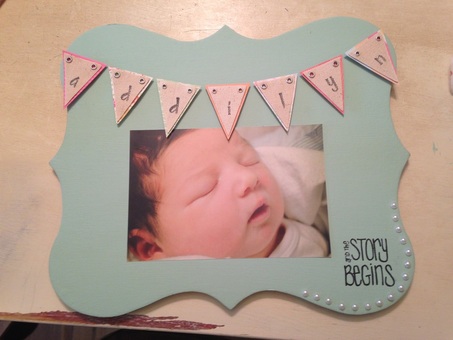
Collin and I wished that we could have been there when the little beauty was born, but to show our love to them from afar, I decided to make them something a little special. Plus, what better way to make use of a rainy Sunday afternoon than crafting?! So, I'm going to work backwards on this one. Here is the end product of item 1 of 2 for the gift to Addilyn (the second part of her gift is in the next post).
Sorry, I just realized how dark the photo is, but I hope that you at least get the picture ;) So, this project didn't consist of me buying much since I had most of the supplies at home. But here is a complete list of things you will need to duplicate the project:
shopping list :)
- piece of wooden board, cut in your desired shape ($3.99 at Hobby Lobby!)
- burlap triangles
- any type of scratch paper, preferably colorful
- hot glue gun
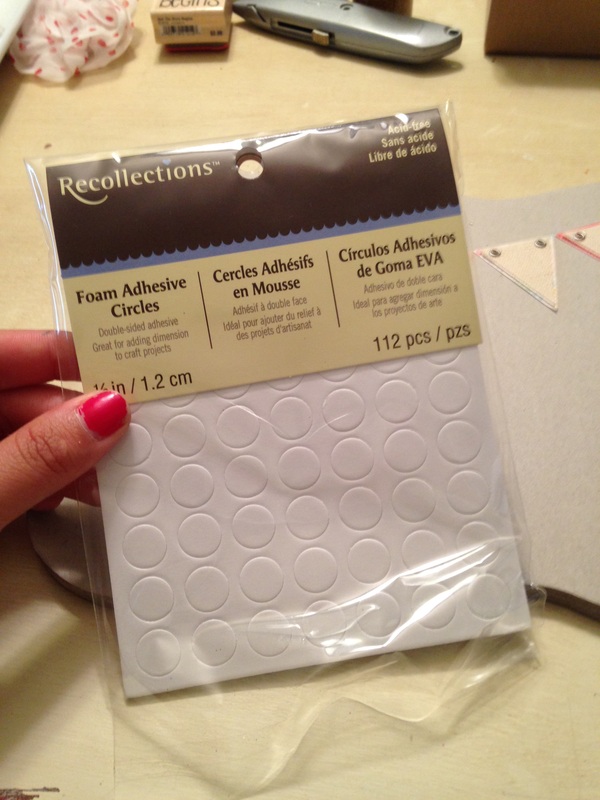
- foam adhesive circles (Hobby Lobby)
- stamps of your liking
- stamping ink
- scissors
- any other decorations you would like
- a photo to display ($0.27 at Walgreens)
and now we being the project...
- burlap triangles
- any type of scratch paper, preferably colorful
- hot glue gun
- foam adhesive circles (Hobby Lobby)
- stamps of your liking
- stamping ink
- scissors
- any other decorations you would like
- a photo to display ($0.27 at Walgreens)
and now we being the project...
To begin this project, you would first want to take your board and, in your mind, determine how to you want to set everything up. Do you want the photo in the middle? Off to the side? How big will the photo be that you are putting on? Thinking of everything before hand is most important because you want to avoid coming across any unfix-able crossroads down the road! After I chose my layout design in my head, I painted the board a seafoam green- just to give it a little pop!
*** I actually messed up on my first attempt at this and grateful that I did because it made me realize the photo canvas needed color! But I am just forewarning you of this because in some pictures the board is painted and in others it is not- just be sure to paint first before adding anything. It makes everything simpler!***
Once the board was painted and dried, I started work on the name banner. As you will see below, I bought little burlap pre-cut banner pieced for Hobby Lobby. I believe I got 10 in a pack for $2.99. I took a piece of triangle banner and mounted it against a piece of card stock paper. I cut the paper to make a little border around the triangle. Secure the triangle to the card stock with hot glue gun. (Hover over the images to see the step instructions.)
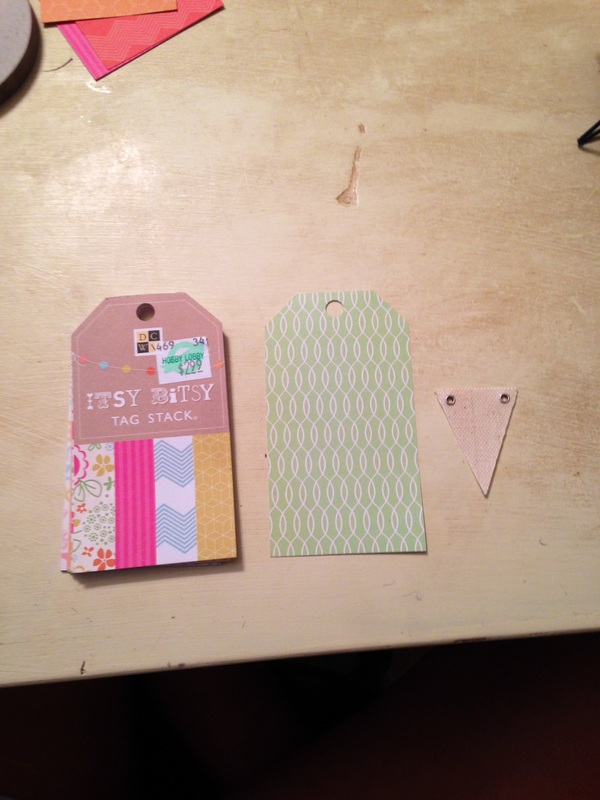
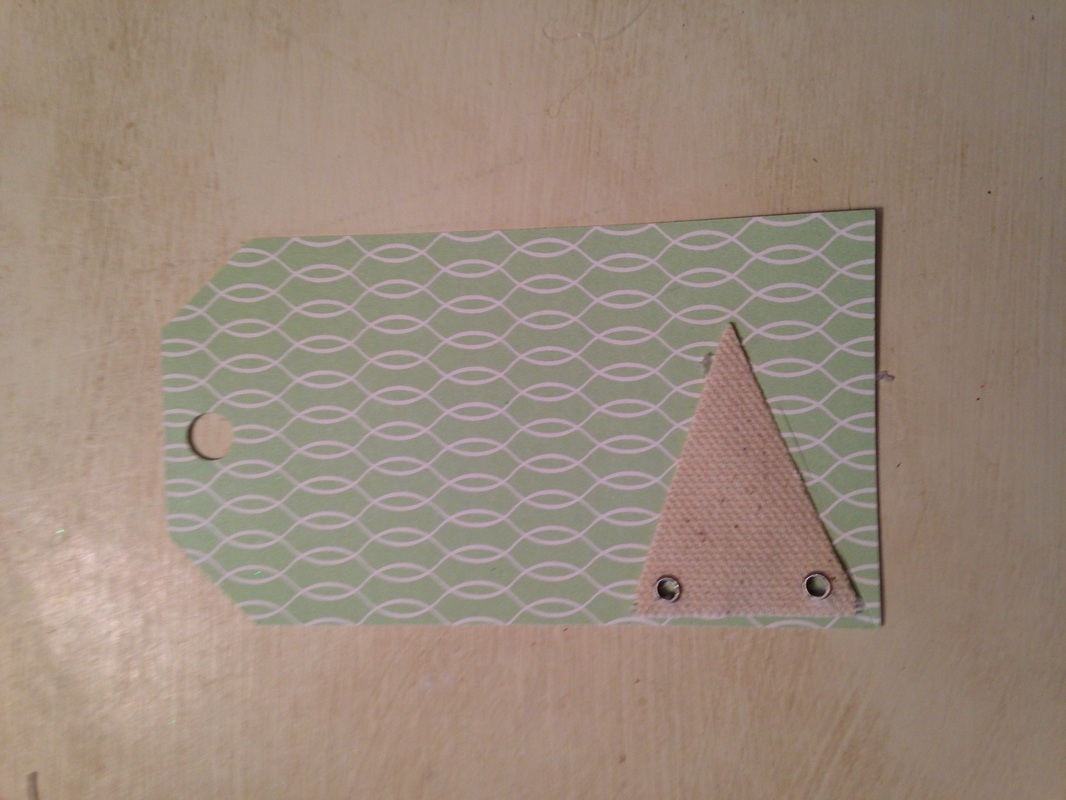
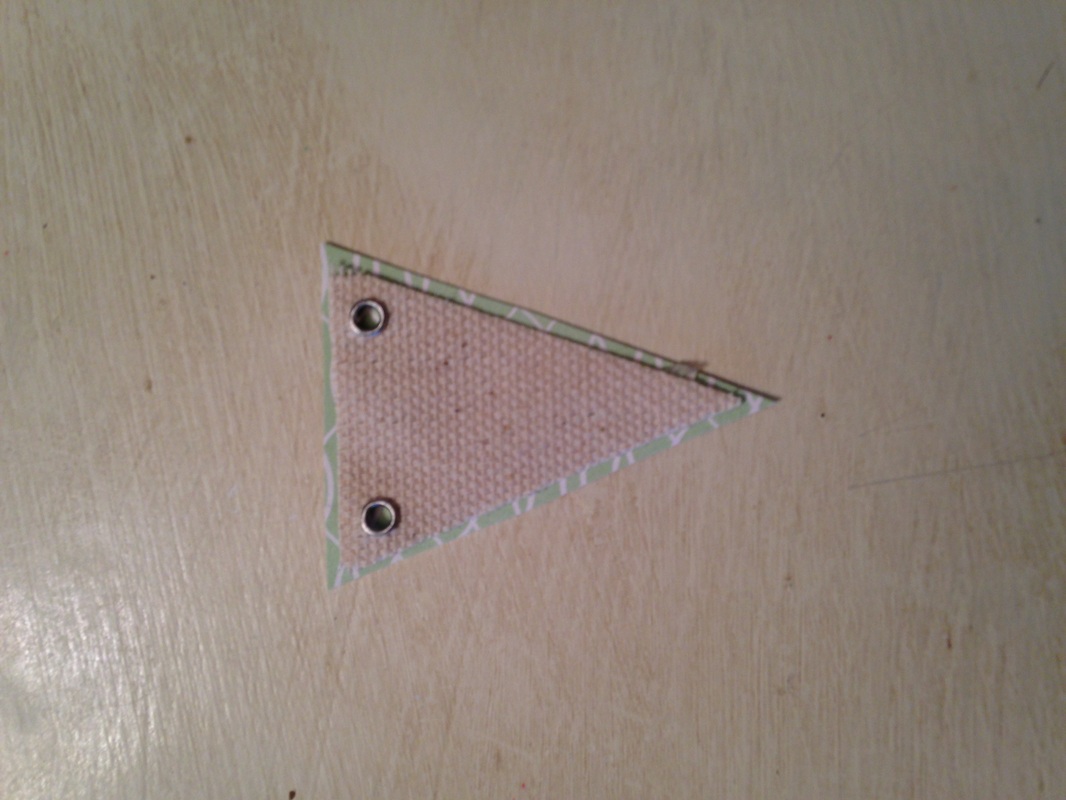
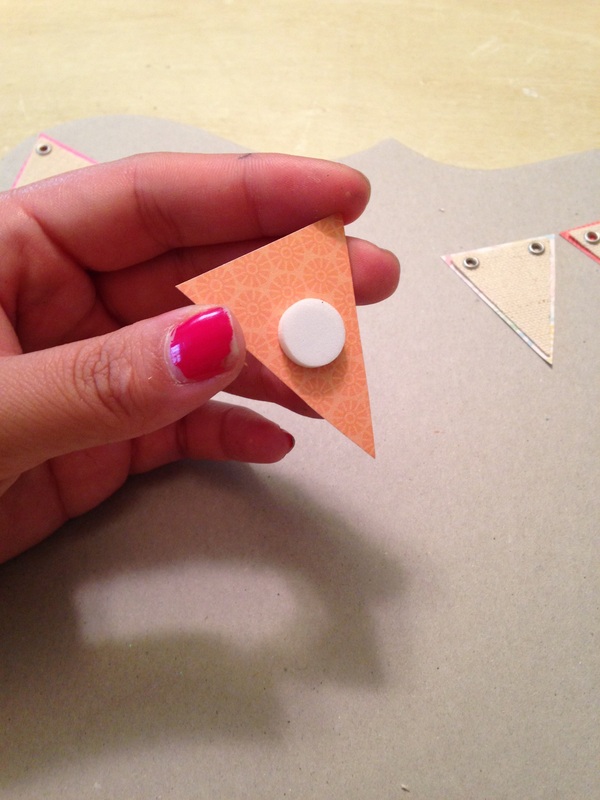
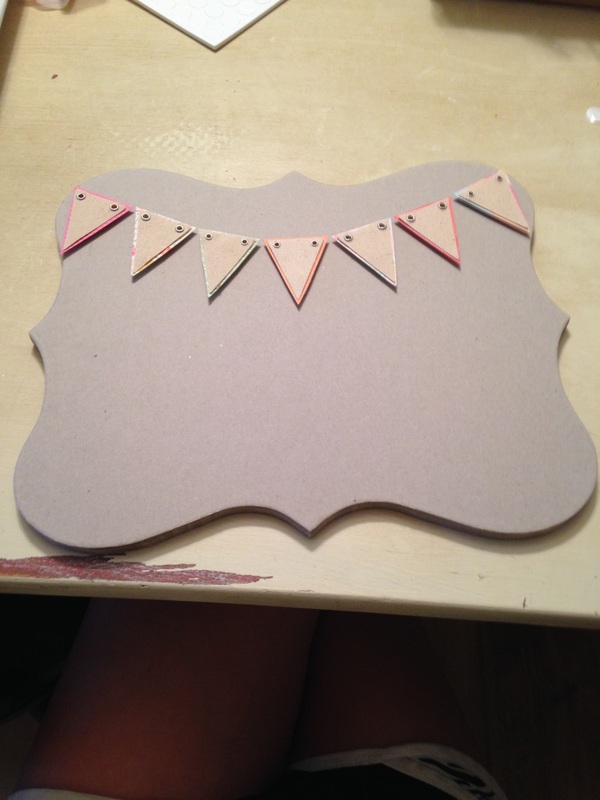
Complete the above steps with how many letters you will need. You can skip this next step, but I decided to add a little 3D-dimension to the project by making the banner pop out. With the use of foam adhesive circles, you can make anything slightly come off the page. Attach one adhesive circle to the back of one mounted burlap triangle. Attach the triangle onto the canvas in the way you wish to design.
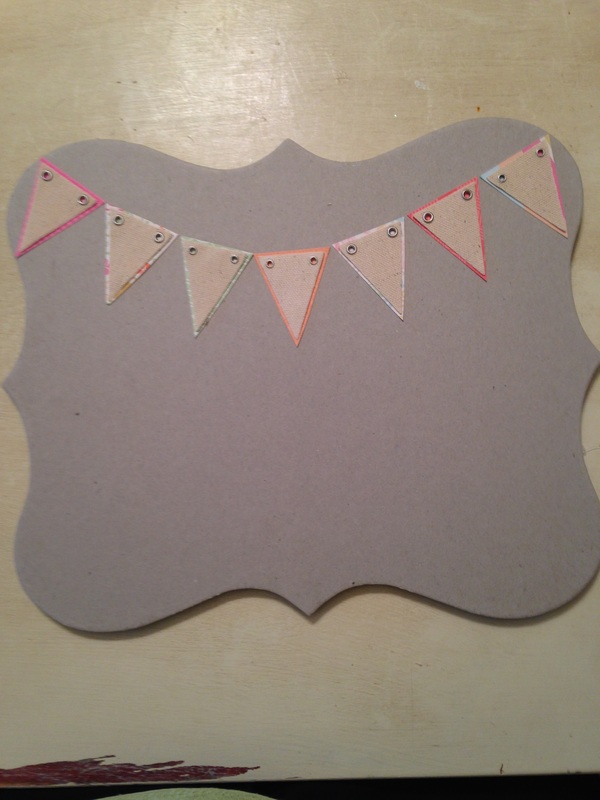
To show you what a difference these adhesives actually make, here is a before and after picture. The picture on the left is without the adhesives and the picture on the right is with the adhesives. It's not a HUGE difference, but it is A difference!
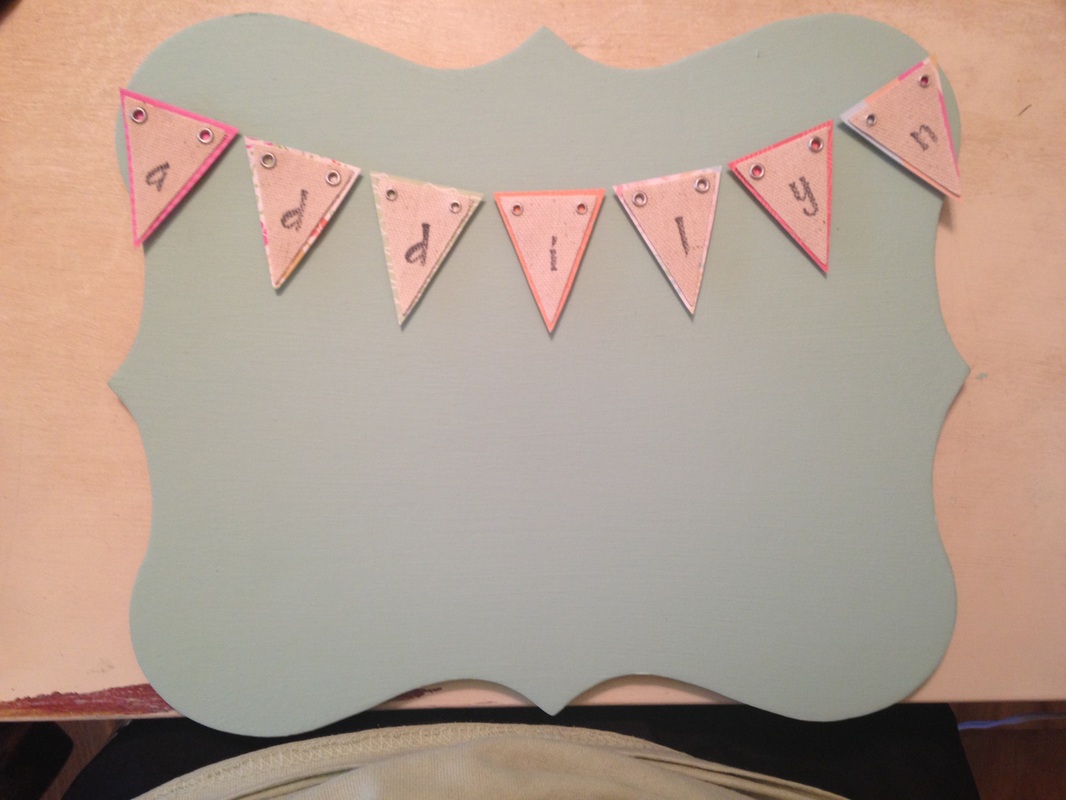
Next, I took stamp letters that I had and placed one letter on each letter to spell out "Addilyn". This is pretty self explanatory!
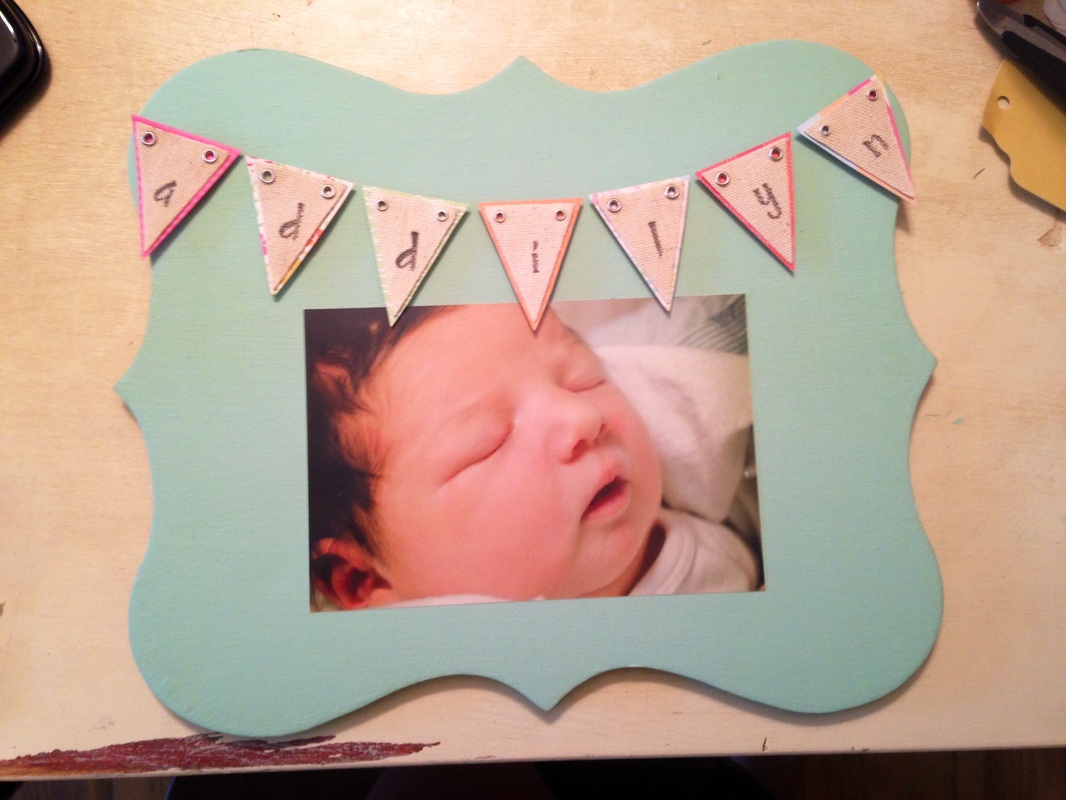
Okay, friends, next thing I did was add the photo of the cute little baby girl. Hindsight, I probably should have done this FIRST to make sure everything stayed center and proportionate, but I happened to luck out on it all! Skills :)
Lay out the photo on the canvas where you would like, so you get an idea before stamping it on! I used multi-purpose spray adhesive, which I would highly recommend. Use either this stuff or mod podge. You want to use something that is durable and will stick, but won't put bumps on the photo. Spray the adhesive on the back of the photo and stick onto the canvas. Be careful- it's super sticky!
Lay out the photo on the canvas where you would like, so you get an idea before stamping it on! I used multi-purpose spray adhesive, which I would highly recommend. Use either this stuff or mod podge. You want to use something that is durable and will stick, but won't put bumps on the photo. Spray the adhesive on the back of the photo and stick onto the canvas. Be careful- it's super sticky!

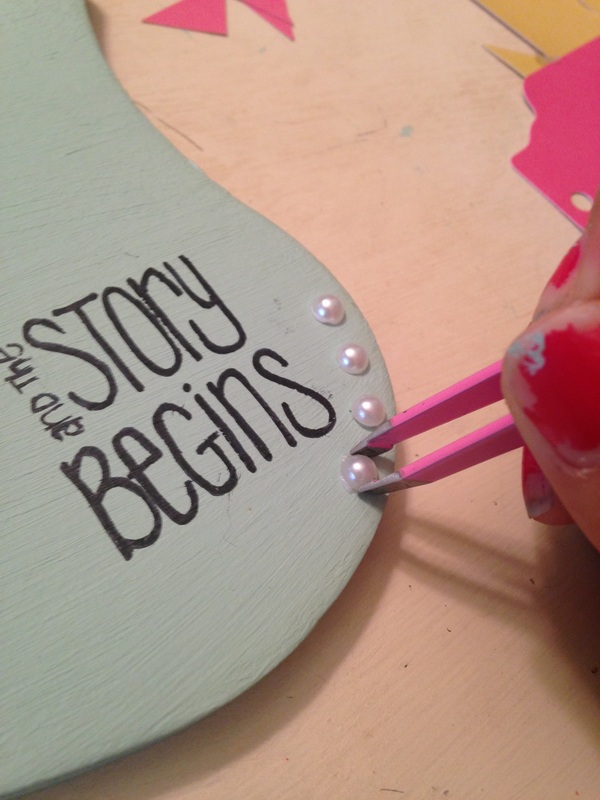
The next thing I did was stamp on something in the corner- "and the story begins". Sorry, I forgot to take a picture of it!
ADVICE: stamping can be very tricky. If you stamp too hard, the wording can come out looking blotchy and just a mess.. and can ruin the whole project. It's better to stamp lighter and go over the working with a fine tip marker.
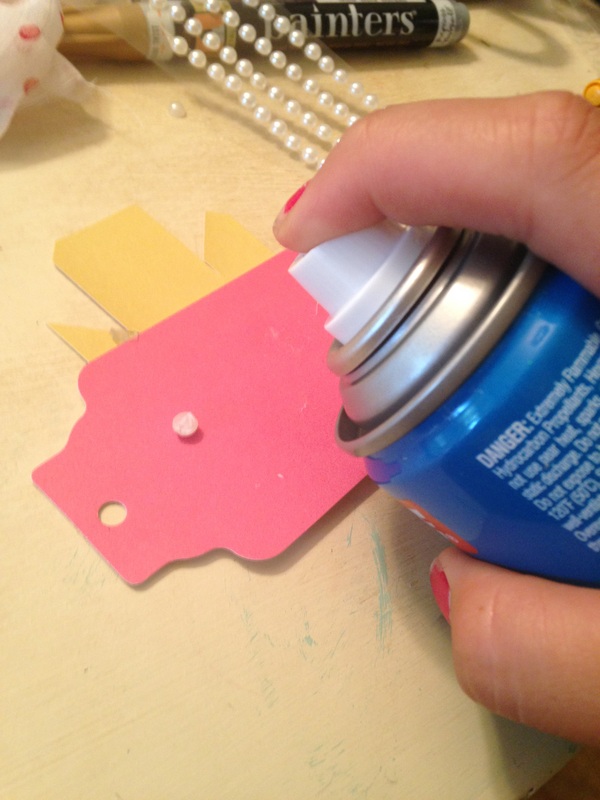
Wrapping it up, I decided to do a little pearl design on the canvas to add a touch of class and charm. I took the spray adhesive (used for the photo) and sprayed a puddle amount on a scrap sheet of paper. The good thing about the adhesive is that, although it is very sticky, it doesn't dry too fast. Taking a pair of tweezers, I dipped the backside of the pearl design in the spray adhesive puddle and put just enough on the back to make it stick. Then, I just let the imagination rule!
ADVICE: stamping can be very tricky. If you stamp too hard, the wording can come out looking blotchy and just a mess.. and can ruin the whole project. It's better to stamp lighter and go over the working with a fine tip marker.
Wrapping it up, I decided to do a little pearl design on the canvas to add a touch of class and charm. I took the spray adhesive (used for the photo) and sprayed a puddle amount on a scrap sheet of paper. The good thing about the adhesive is that, although it is very sticky, it doesn't dry too fast. Taking a pair of tweezers, I dipped the backside of the pearl design in the spray adhesive puddle and put just enough on the back to make it stick. Then, I just let the imagination rule!

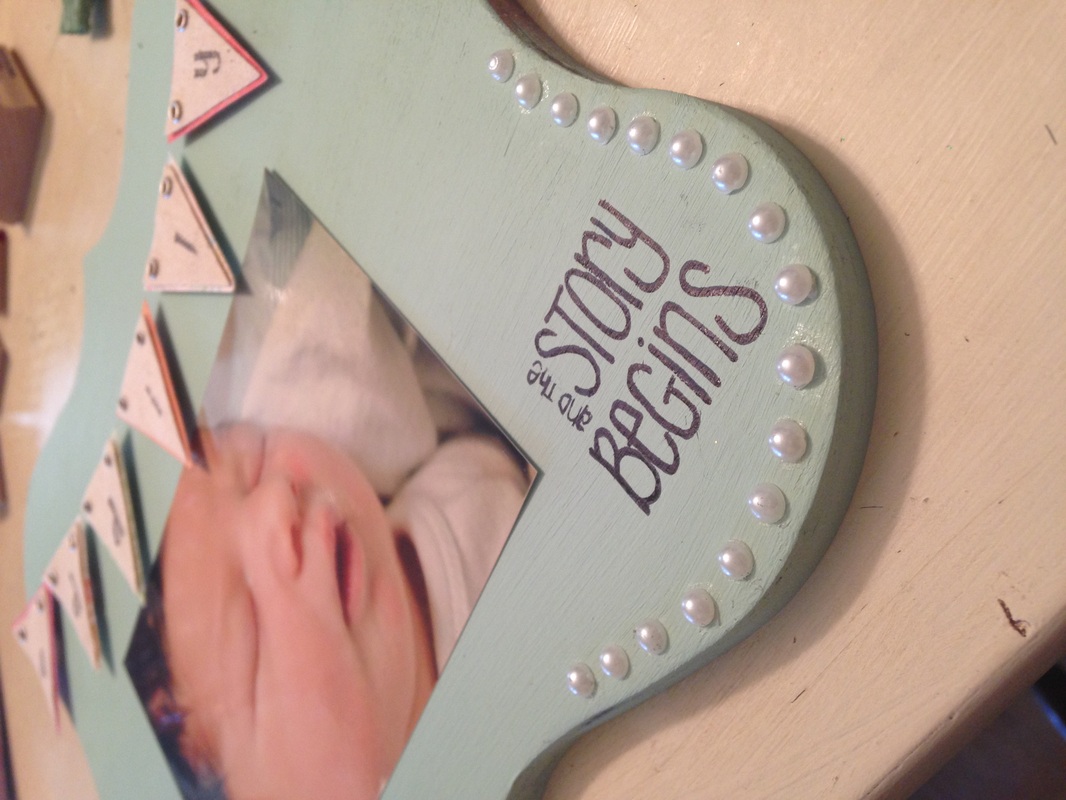

And there you have it. Your own personalized photo canvas for yourself or for some special people in your life! Since I already had most of the supplies at home, this whole project cost me less than $5.00!!! I'm sorry, but you can't beat that!! Congrats again to our amazing friends and their newest addition to the family!!
Please check out my next posting (coming shortly) of part 2 of baby Addilyn's gift from us!! Hope y'all enjoyed :)
xo.
<3 mm
xo.
<3 mm
 RSS Feed